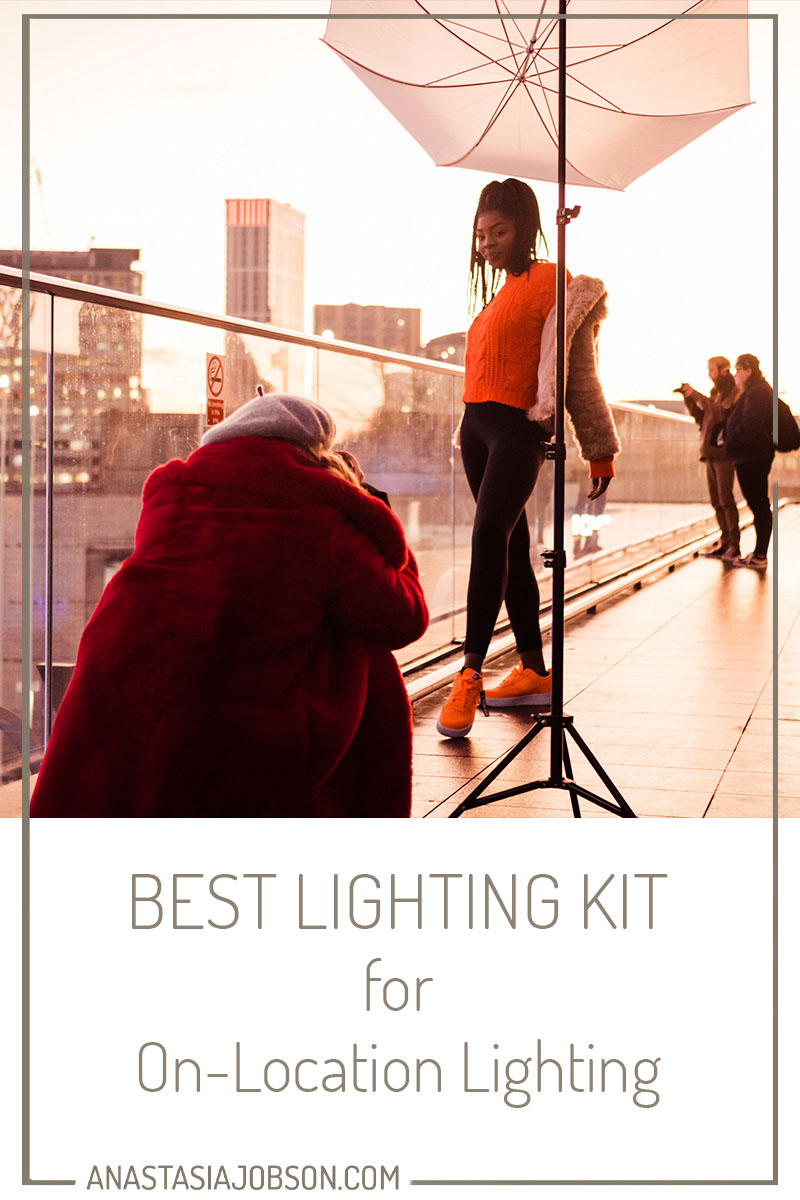
Best lighting kit for on-location photography
Whilst a photography studio is the most reliable, sometimes you just want to go out and capture some magic in unfamiliar places. However, with natural light being so unreliable (in England for example the weather changes 5 times a day), it’s hard to predict lighting conditions when planning a photoshoot. Luckily, we have plenty of options when it comes to artificial lighting. Don’t just rely on whatever the weather throws at you, bring your lighting on-location! Let’s talk about lighting and what’s the best on-location photography lighting kit to get your hands on.
With most of the days in England being grey, the natural light during an overcast day is very soft and even. It’s quite flattering. Maybe this is the look you are going for, and that’s amazing! I personally find it boring and flat. That’s why I often feel the urge to introduce some artificial lighting to the set to make my images more interesting.
Another reason why I love bringing lighting equipment to my on-location photoshoots (just in case), is that on a grey day there’s often not enough light. It’s dark, and in order for me to photograph action or dance in these conditions I need to bump up my shutter speed to freeze any movement, which also leads to upping my ISO, adding more grain. With a flash, you can keep your ISO low for superior image quality. This is another reason why lighting on-location is s important.
Do you want to become more in control of natural light and create compelling images? Then you’re in the right place!
Let’s dive right in!

Light: Transluscent umbrella above the camera
The best on-location photography lighting kit is
1. Portable
Choose small and light-weight gear so it’s easy to travel with it. Also, if you’re shooting on your own (without assistance) smaller gear will help you keep a low profile.
2. Affordable
In case adverse weather conditions (storm, heavy rain, wind) if it breaks – it breaks, and a replacement won’t break your bank. Don’t make my mistake of buying the best speed light you can afford and take it to an outdoor photoshoot. It fell, got damaged, and I cant use it again. Moral of the story – choose cheaper gear, and you’ll avoid frustration.
What I love about on-location lighting is you don’t need 3,4, or 5 lights. Just a single artificial light added to the set can really enhance the natural light and produce stunning results.
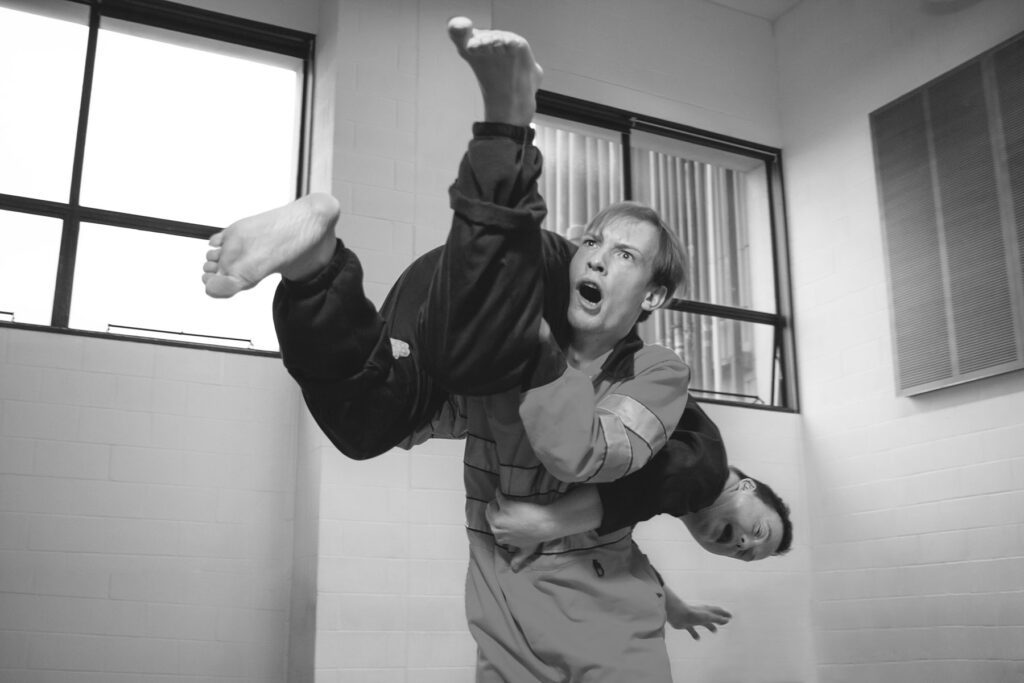
Lighting: Transluscent umbrella from left and above
Let’s talk about what on-location photography lighting kit consists of
Speed lights
You can’t go wrong with speed lights when it comes to portability. They are NOT as powerful as strobes but that’s okay; they do the job. Just be prepared to turn your speed lights up for more output. Also, stuff your camera with extra batteries and you will be just fine.
Trigger & receivers
Do not forget about these. Don’t get discouraged if you do forget them; you can still use on-camera flash and bounce the light off a white wall (or a reflector) to make the light bigger and softer. Get creative with what you have!
Batteries
If you’re using speed lights a lot, consider investing in rechargeable batteries. It was a game changer for me. It’s only a one time purchase and you can forget about the stress of getting a battery supply for each photoshoot.
S-type bracket holder with Bowens mount
This bracket is will hold your speed light plus a light diffuser (soft box or an umbrella) on a light stand.
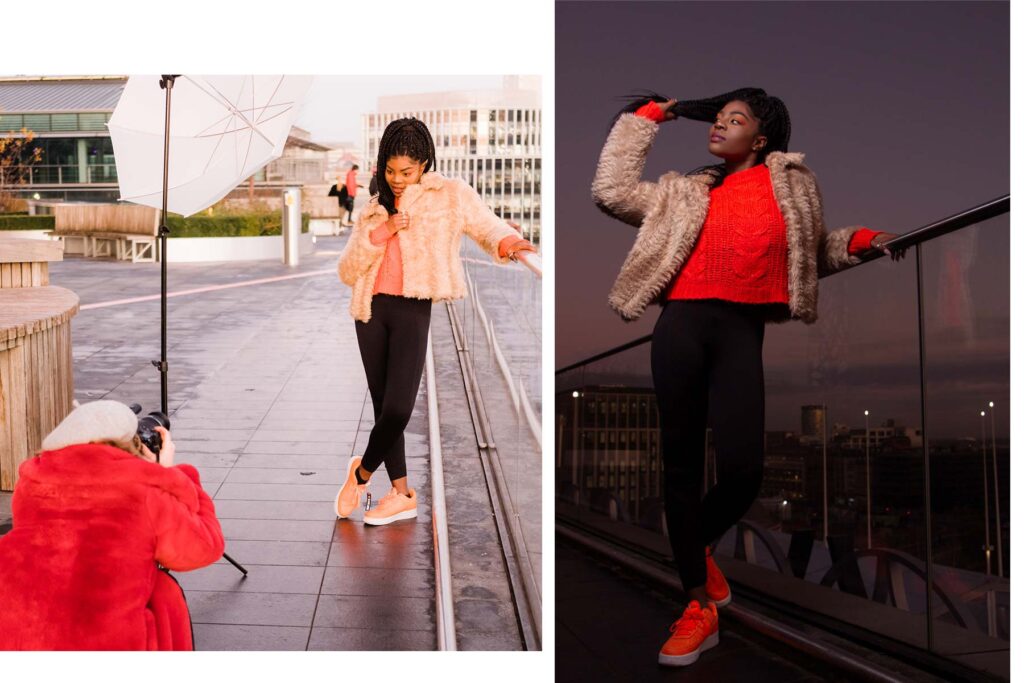
BTS image by Veronika J. Photography
Light stands
It’s all about portability. Choose smaller light stands. Believe me, you don’t need the sturdiest ones out there for a speed light and an umbrella. Small one does the job perfectly. And a bonus point, it fits in more bags!
If you feel like your light stand needs fortification (especially on a windy day), get sandbags! Fill them with sand or rice and secure your light stand from falling on someone’s head.
Light diffusers
There’s no right or wrong when it comes to a diffuser. It all depends on the look you are looking for. Check out this blog POST for a comparison between umbrellas and soft boxes and the light they produce.
For on-location photoshoot I would recommend getting an umbrella simply because it takes seconds to set up. A soft box also won’t take long assemble and mount – just about 5 minutes.
Reflector
Reflector is my number one favourite item that is always in my camera bag. If you don’t have enough light in front of your subject’s face – use a reflector. When there’s too much light – take the reflective layer off and diffuse the harsh light to make it softer. A reflector saves the day! Every time.
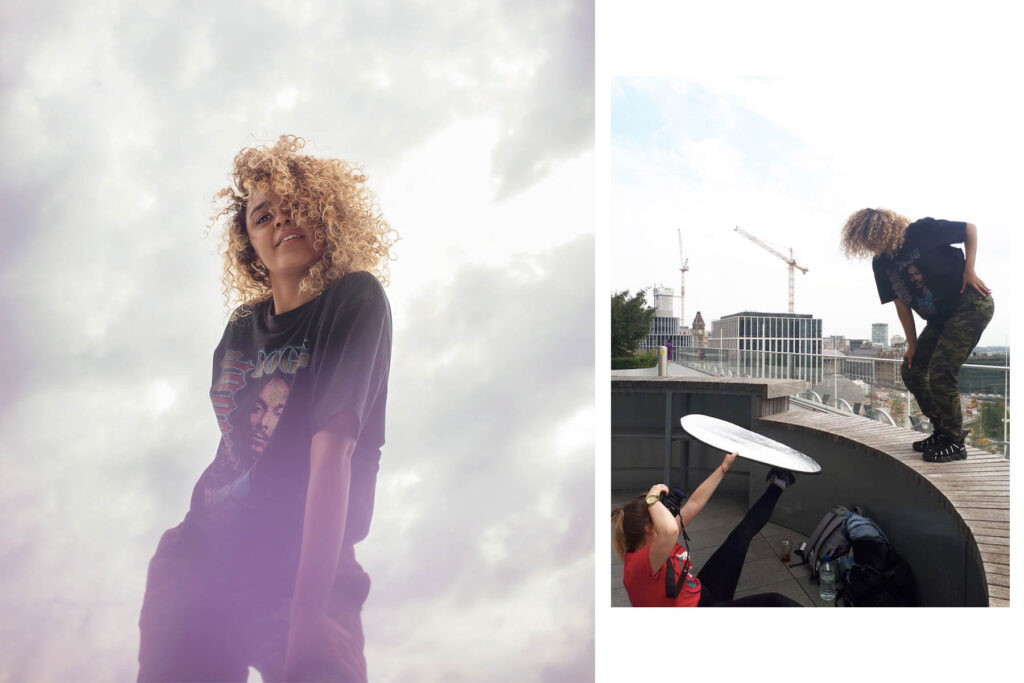
Lighting: backlit + silver reflector
I hope you found this post useful! If you have any questions regarding the best lighting kit for on-location photography, feel free to write it down in the comment section below.
Stay safe!
Sorry, the comment form is closed at this time.
