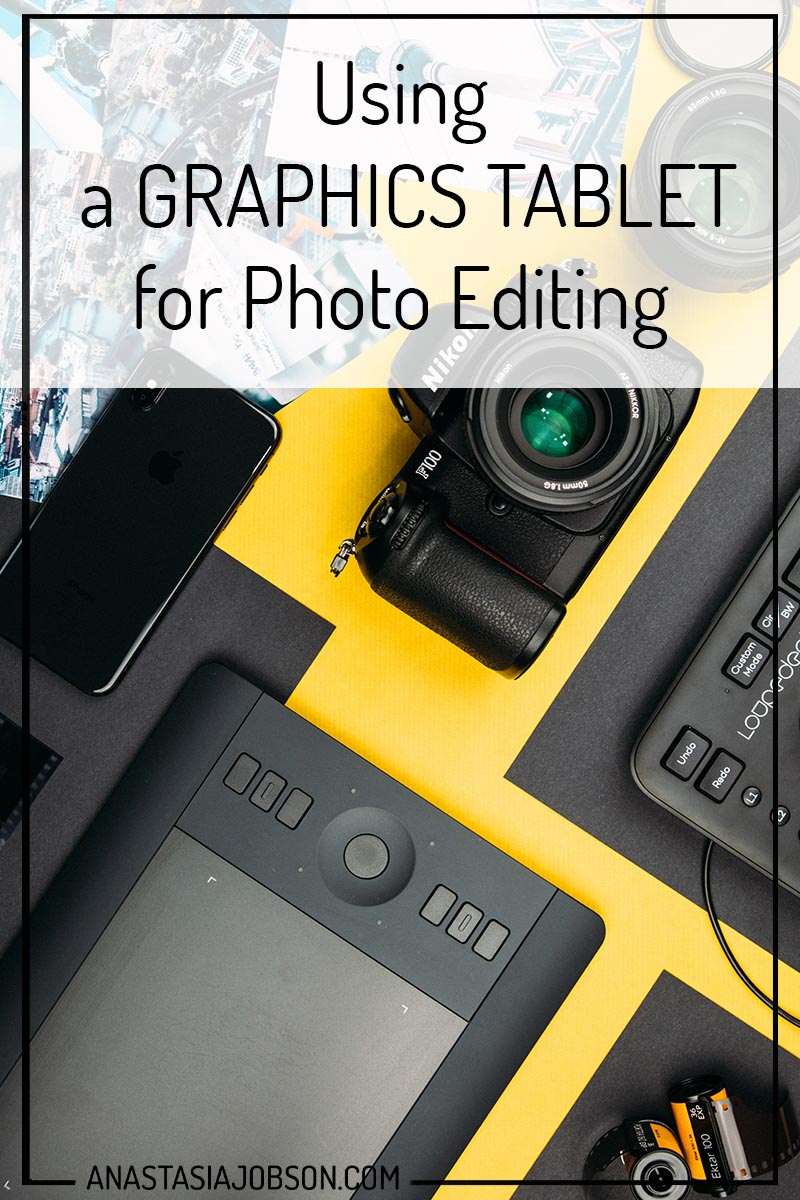
Using a graphics tablet for photo editing and retouching
Hey fellow photographer! Today I’m going to share my experience of using a graphics tablet for photo editing and some of it’s amazing benefits. If you haven’t used a tablet for photo editing, here’s why you should give it a go!
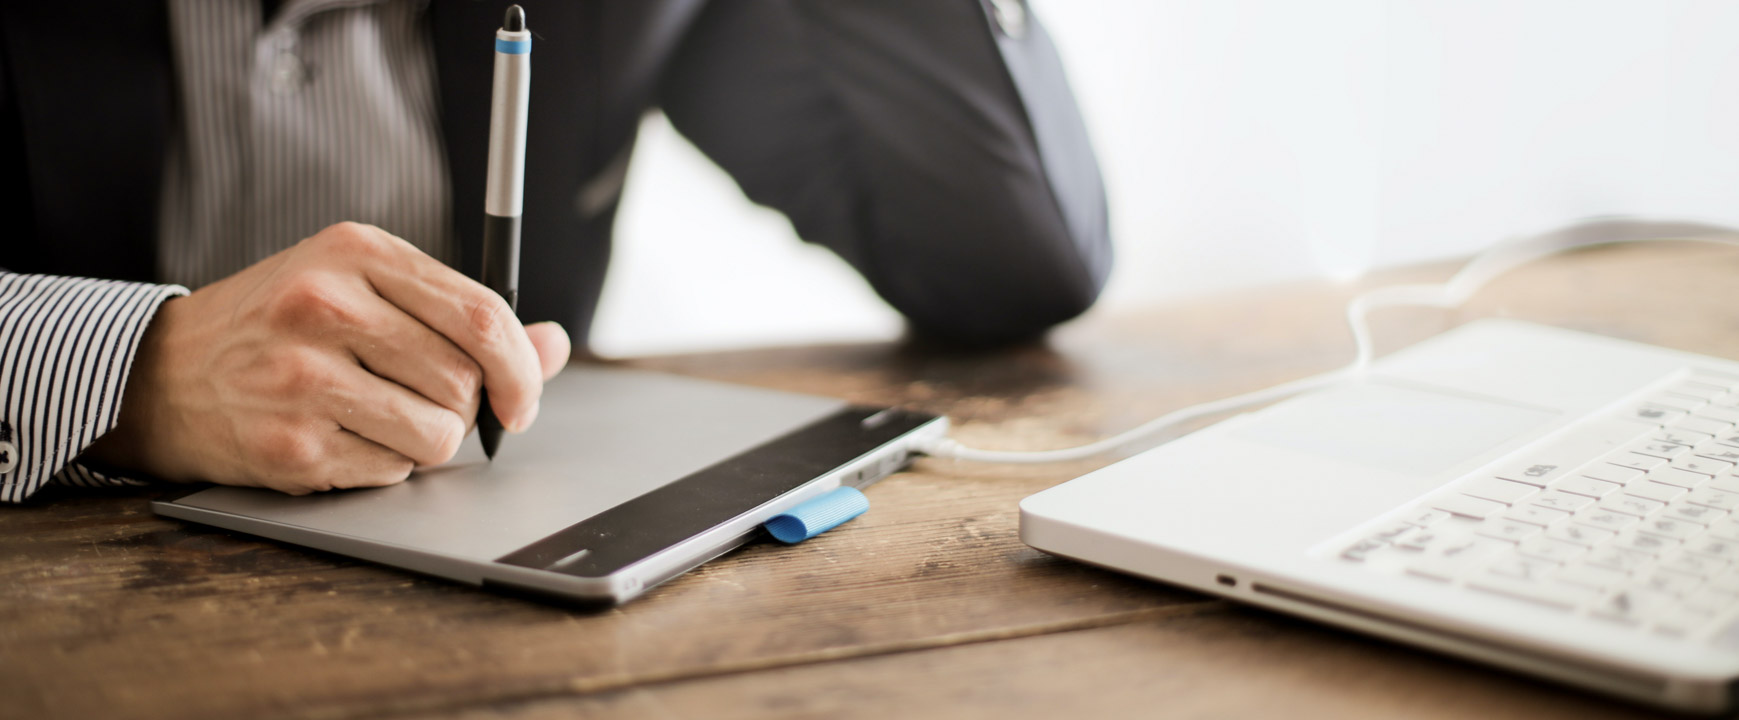
3 awesome BENEFITS of using a graphics tablet for photo editing:
Intuitive workflow
We are so used to using a mouse when it comes to computers… It almost feels natural! Though have you noticed aching muscles after hours of photo editing? When using a graphics tablet on the contrary, you will engage the basic motor skill taught to us since early age, writing. Because we’ve been using this skill for so long it overall feels more intuitive.
Disclaimer: at first it doesn’t feel anywhere near natural – drawing on one surface and seeing your creation on another. It does take a bit of getting used to, but it’s so worth it.
Pressure sensitivity
You have so much control on drawing lines when using a stylus pen in general, but when you use it in Photoshop there’s a new level of control unlocked in that was previously unavailable, pressure sensitivity.
Choose Brush Tool in Photoshop. You can either turn brush pressure setting on manually by clicking on the pen in the circle icon on the top bar, or simply choose a different style brush in the brush presets (i.e. soft round pressure size, hard round pressure opacity and flow, etc). This will give you control of the brush output depending on the pressure you apply to the tablet. For example if you are using pressure for size/opacity option selected, the brush size will change depending on how hard you press down with the pen.
Try using a pressure sensitive brush next time for your dodging & burning, or layer masking – you will be amazed how much more precise your editing will get.
Ultimate shortcuts
If you are not using keyboard shortcuts in photoshop already, you are doing yourself a disservice – learn those and save tons of time in your post production. If you love saving time and are looking for new avenues to do so, a graphics tablet is the way.
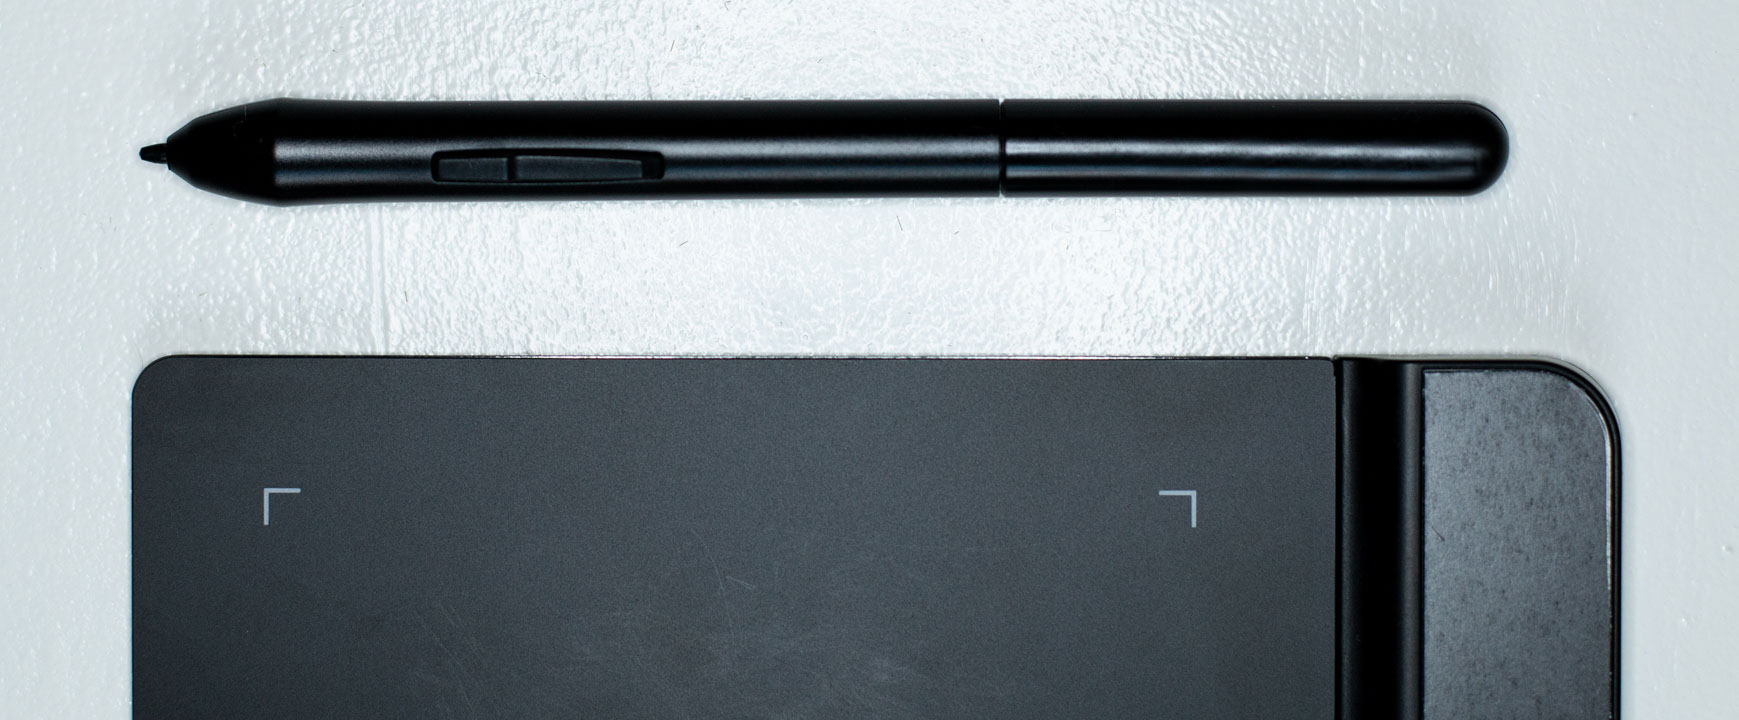
Depending on the tablet’s brand and model you’re using, a stylus pen might have some buttons on it. As a default, my pen has 2 buttons for Pen and Eraser tool, and right click, but there’s also an option to customise them. Some stylus pens replicate a pencil with the elastic which makes the work flow even more intuitive. How cool is that!
HOW TO CHOOSE a perfect graphics tablet:
There’re so many options on the market, for any graphics tablet user experience level and budget. It’s so easy to get lost in reviews and YouTube videos… So here are a few tablet specifications to consider when choosing a tablet for photo-editing. I hope it will make your decision making easier!
Size
Simply put, the size of a tablet represents your computer screen. So the larger the size of your tablet, the more resolution you’ll have for using a stylus pen. Smaller tablets are perfectly useable, though if you are doing fine, detailed work you will have to zoom in a little. Bonus point! It’s easier to travel will a small tablet, as you can throw it in pretty much any size bag.
Connection
Another aspect of a graphics tablet you want to consider when choosing is it’s connection to a PC/laptop. There are 2 options: wired and bluetooth tablets. If you’re editing your images at home in front of a stationary pc, you don’t really need a wireless tablet, and it will save you £20-40.
Function buttons
Some graphics tablets have lots of shortcut keys built in, others are minimalistic with no buttons whatsoever. If you’re will be using a tablet right next to the keyboard, there’s no need for your tablet to have function buttons. For me it works brilliantly having one hand on the keyboard and another on a tablet using a stylus pen.
If you’re looking for an independent editing tool, I would recommend going for a tablet with designated function buttons. Note, the short keys add to the size of a tablet, as they are often placed on the side of the working area of a tablet.
The graphics tablet I’m using
The main reason I got a graphics tablet was for digital illustration. After days of experimenting I found that drawing is extremely difficult using a standard PC mouse. Long story short, adding a tablet to my photo-editing workflow was a game changer due to faster and more precise workflow.
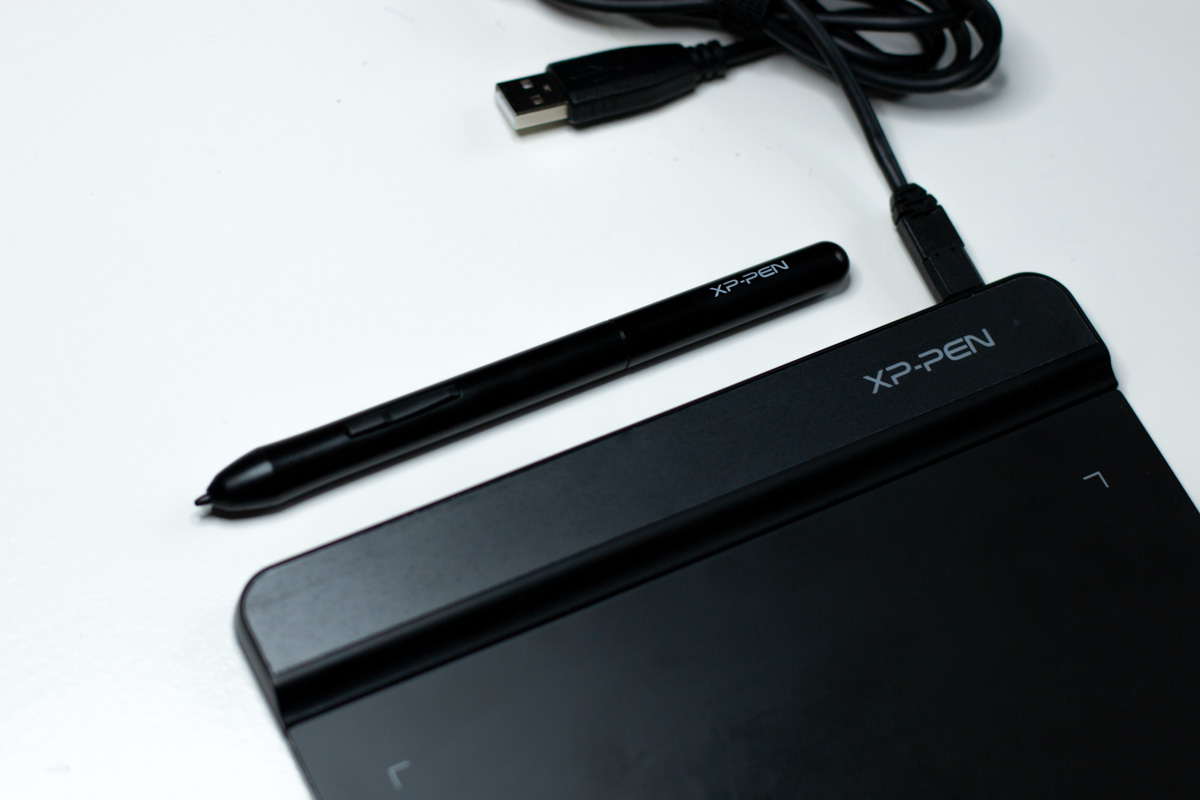
The tablet I’m using is XP-PEN Star G640. I love it’s minimalistic design, and portability (6×4 inch). It’s battery-free stylus pen is perfect, as it doesn’t disrupt my workflow to charge it or change the battery.
The pen is super sensitive, with whooping 8192 pen pressure sensitivity levels.
XP-PEN Star G640 is perfect for any beginner, someone who’s just starting out with graphics tablets, and doesn’t want to pay £50 or more for something you’re not sure if you’re going to be using. It’s £39.99 in XP-PEN store and at the time when I purchased it the price was only £27 on Amazon. Such a bargain for so much value!
Final thoughts:
As weird and uncomfortable it might feel the first time you get your hands on a graphics tablet for photo editing, force yourself to give it a chance. Once you get used to it, it’s impossible to go back. It completely changed my way of editing – faster, more precise, and generally more enjoyable.
Disclaimer: I wasn’t paid or sponsored by XP-PEN for this post, the above thoughts are my own.
If you want to improve your photo editing, feel free to check out 5 Worst Photo Editing Mistakes to Avoid.
That is all for this week’s post. Are you already using a graphics tablet for photo editing? How do you find it?
Sorry, the comment form is closed at this time.
