How to Get A Vintage Look on Photos
I love everything vintage! Vintage feel in the photos is no exception! Have you ever wondered how you can make your images look like they were taken twenty or fifty, maybe even a hundred years ago? If the answer, is yes, you are in the right place. Today I want to share with you 4 different methods of how to get a vintage look on your photos.
How to get a vintage look on your photos:
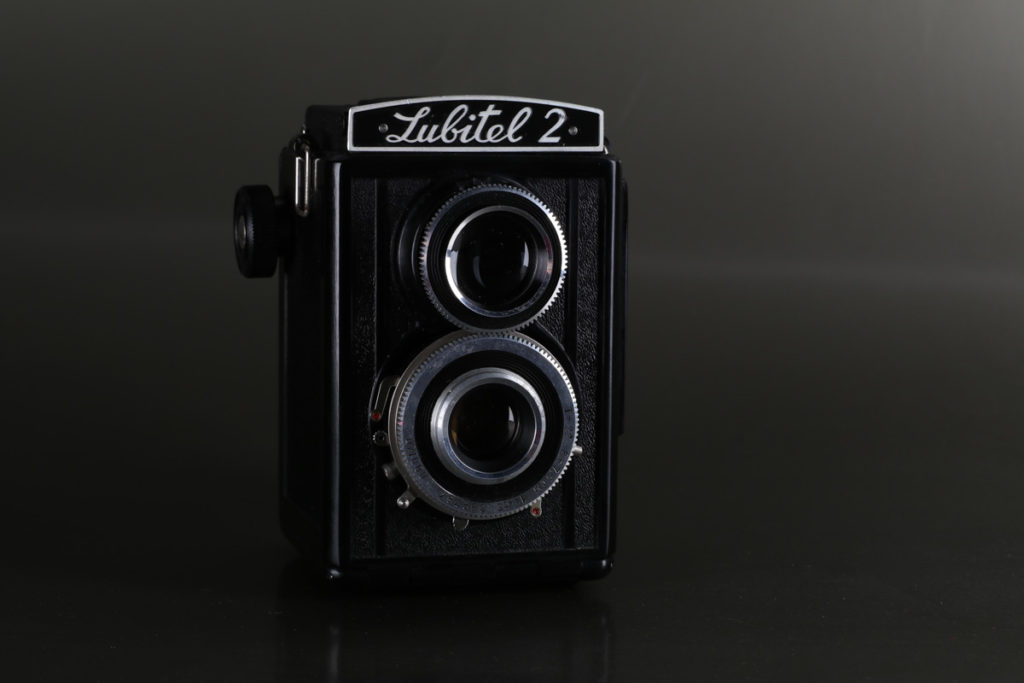
TAKE PHOTOS ON A RETRO FILM CAMERA
Film is not dead, opposite, it’s back in trend! Which is good, as it means it’s easy to get!
These days you can pick up a film camera literarily everywhere: flea markets, charity shops, eBay, Etsy, car boot sales, photography shops and so on. You can get one for your budget, there’s a plenty of gems out there between £20-200 depending on the brand and condition.
PROS:
- Beautiful retro-looking grainy photos straight from the camera. No post production needed (if you got it right in the camera)!
CONS:
- You DO need to learn how the camera works and how to expose your photos correctly. Otherwise images are ruined easily.
- You can’t rely on Photoshop here. Sorry to discourage you, but there’s no chance you can salvage any detail from the shadows on the image which is underexposed. The reason is that the chemicals covering film have an activation threshold which means a photo needs a certain amount of light to activate those chemicals. If the threshold wasn’t reached, those dark parts of the image will remain dead, not activated. So there’s no information to retrieve. You can read a more detailed explanation here
- Film can get pricey. Buying film rolls, developing and scanning the film… An average production cost per film roll is around £15.
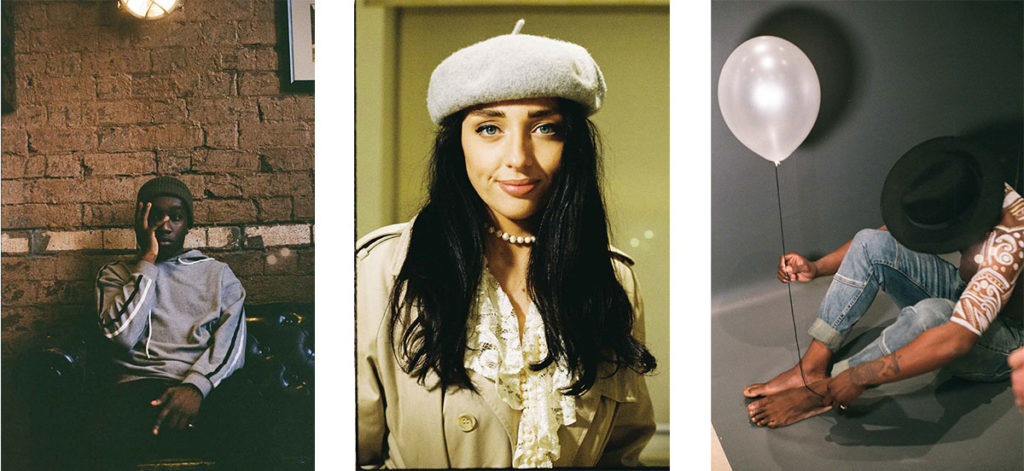
Middle: Abi Fullbrook
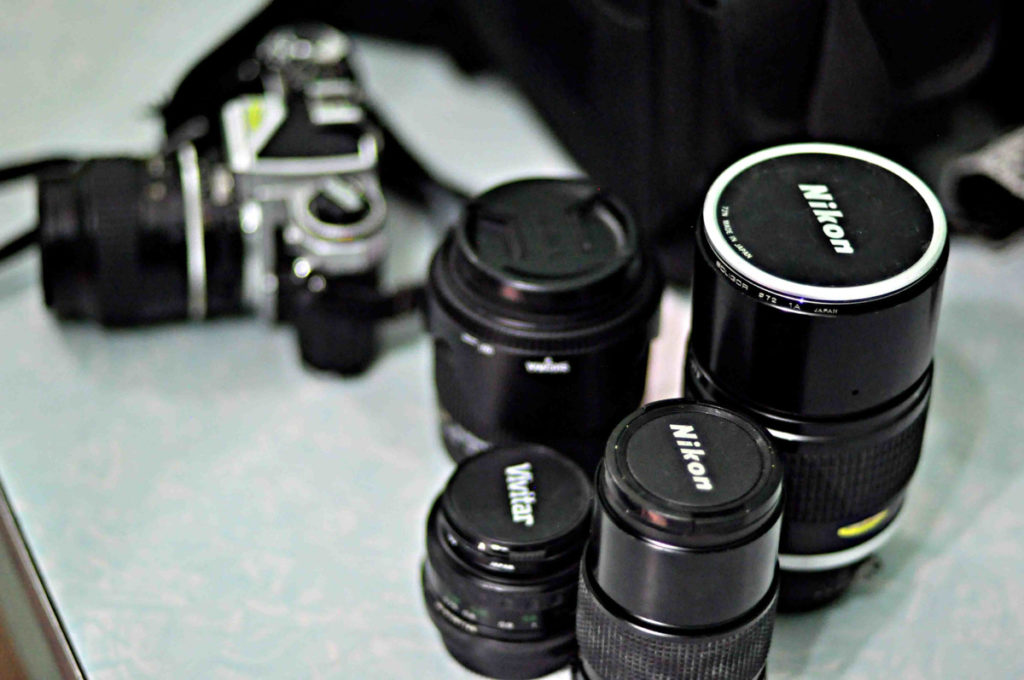
USE VINTAGE LENSES ON YOUR DIGITAL CAMERA
This method is not as authentic as the images taken with old film, but it still gives stunning results.
Get a hazy look with lovely creamy colours in your photos. A soft focus and a slight overexposure add to the overall retro aesthetic. Although, if getting crisp sharp photos is your number one priority, check out method 4 and go digital.
As well as a vintage lens you will also need an adapter suited for your camera. For example M42 lens mount adapter is a standard for most of 35mm film camera lenses. You can get one for as little as £5-10. When purchasing a M42 adapter make sure it’s for the specific camera brand you are using (ex. M42 EOS).
PROS:
- Retro feel in the photos straight from the camera, and again, minimum post production needed.
- Cheaper than using a film camera.
CONS:
- Digital cameras struggle to recognise the settings of old lenses, hence it’s quite hard to control the exposure. Generally, the images come out about 2 stops brighter, so in order to make it work go 2 stops down with aperture or shutter speed. Experiment with it and you will find the way!
- It’s manual focus only. So, if you are not used to a focusing ring, that’s your chance to learn! However, to make your life easier, you can always get a lens adapter with an AF confirmation chip which will confirm the focus. It doesn’t mean it will autofocus, but at least it will notify you when focus is right.
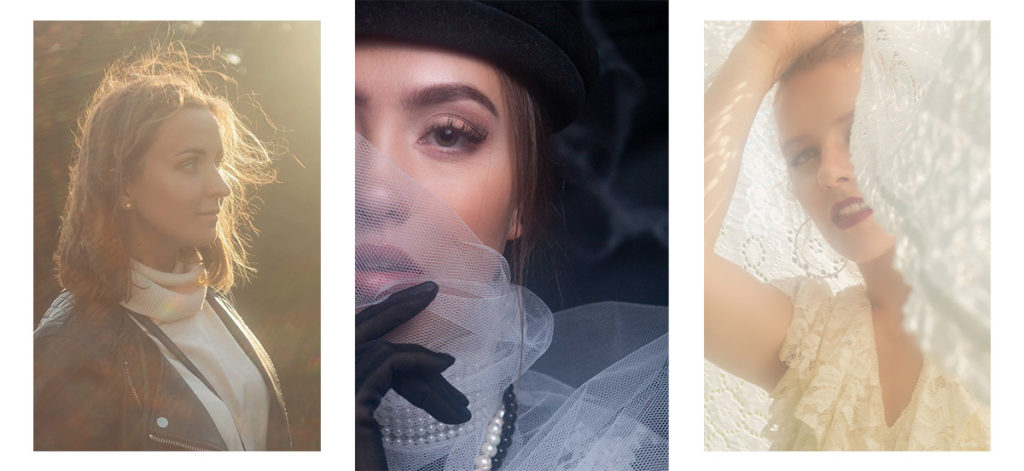
Middle Faye Young; MUA: Precious Richards
Right: Rebecca McCormack; MUA: Eleonora Manzi
STYLE IT VINTAGE
This method requires a lot more preparation and creativity. Let’s break it down!
- Choose a time period that inspires you.
- Find a model who’s style suits the retro aesthetic.
- Source the clothes and props. You can either team up with a vintage/antique shop for a collaboration, or go thrifting! You never know what you can find in charity shops these days for just a few pennies.
- I would also recommend teaming up with a MUA and finish the look with flawless vintage make-up and hair style.
When all the elements are in place, get creative!
PROS:
- You are in full control of the aesthetics, camera setting and the final result you have in your mind.
CONS:
- Preparation and planning.
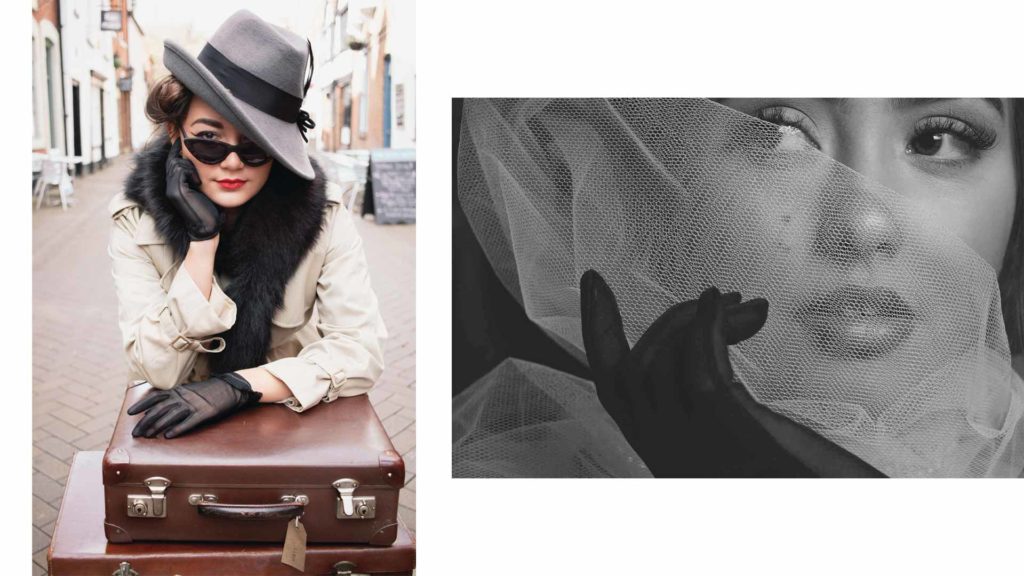
Right: Faye Young; MUA: Precious Richards
ADD EFFECTS IN PHOTOSHOP
Now that you have your perfectly styled vintage photos done, something is missing, right? What’s missing is a finishing touch, editing! Thanks to Photoshop you can turn your digital photos in old film artworks in minutes!
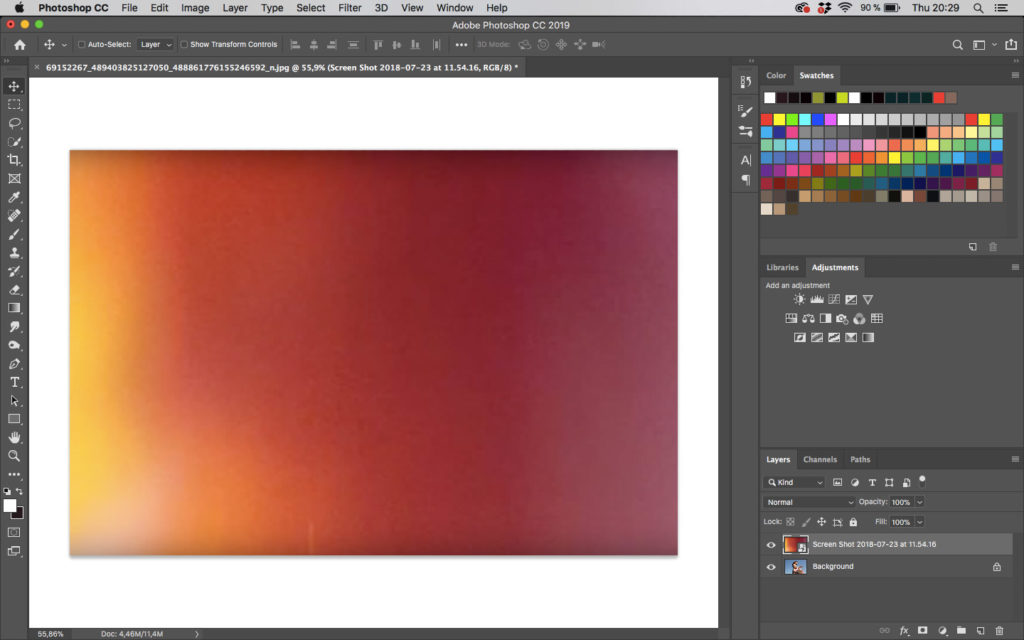
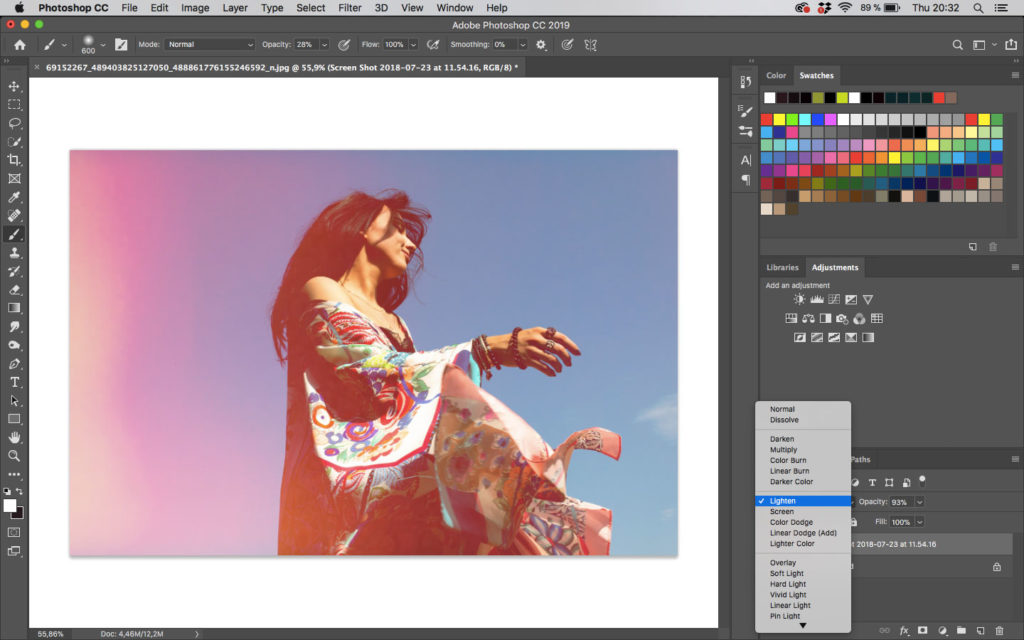
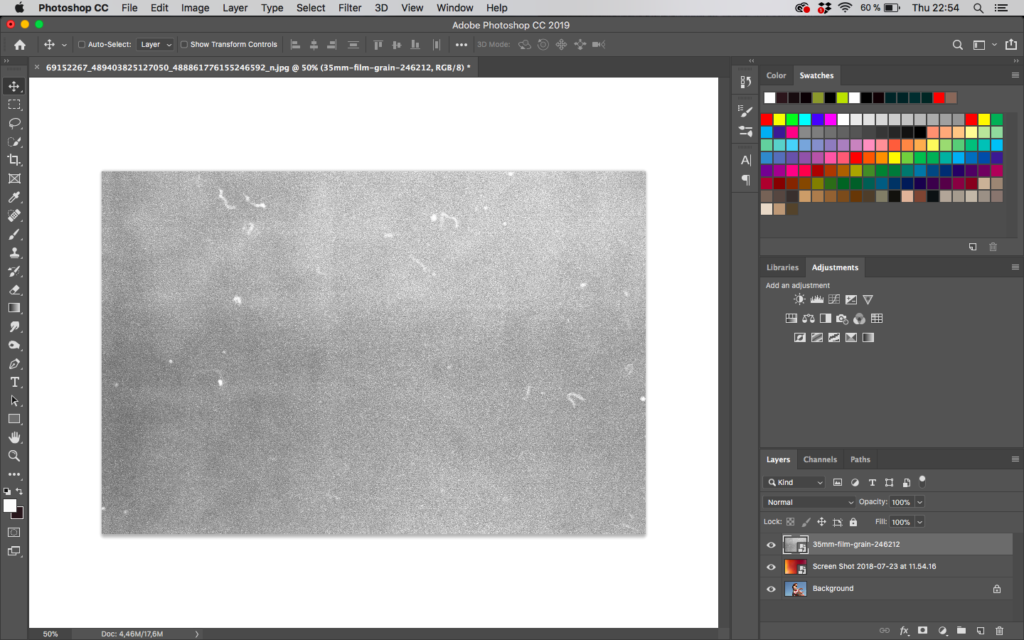
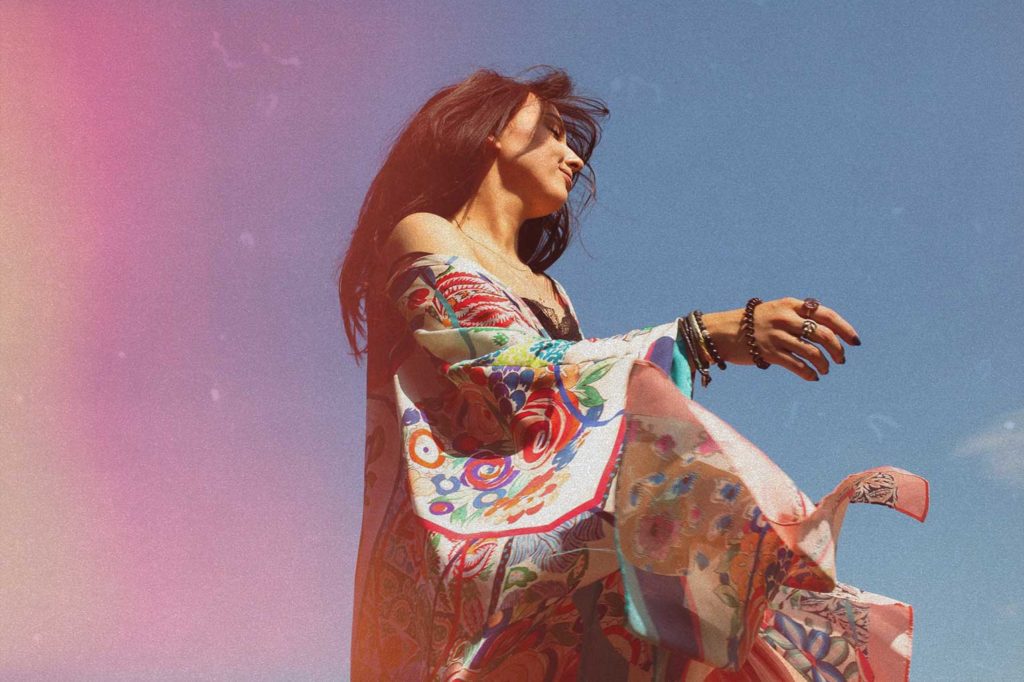
You can add film grain, light leaks, or colour filters like in polaroid and disposable pocket cameras to your photos. Depending on time period, you can go black and white or sepia and add a slight worn out look to your photos. The freedom is yours!
HOW to do it?
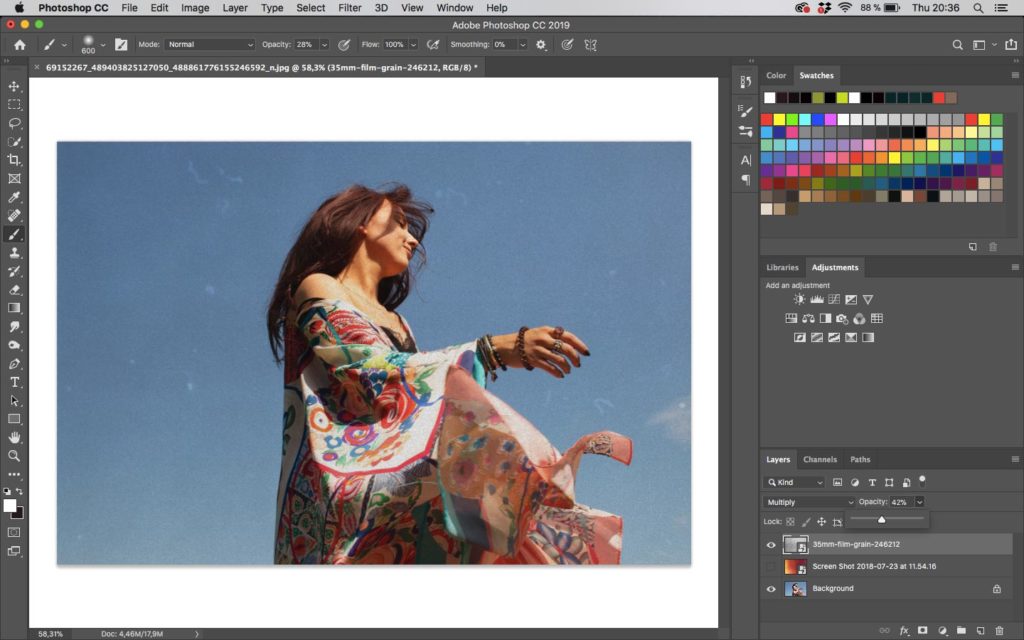
All you need is Photoshop and sample images of grain or light leaks.
Adding a light leak:
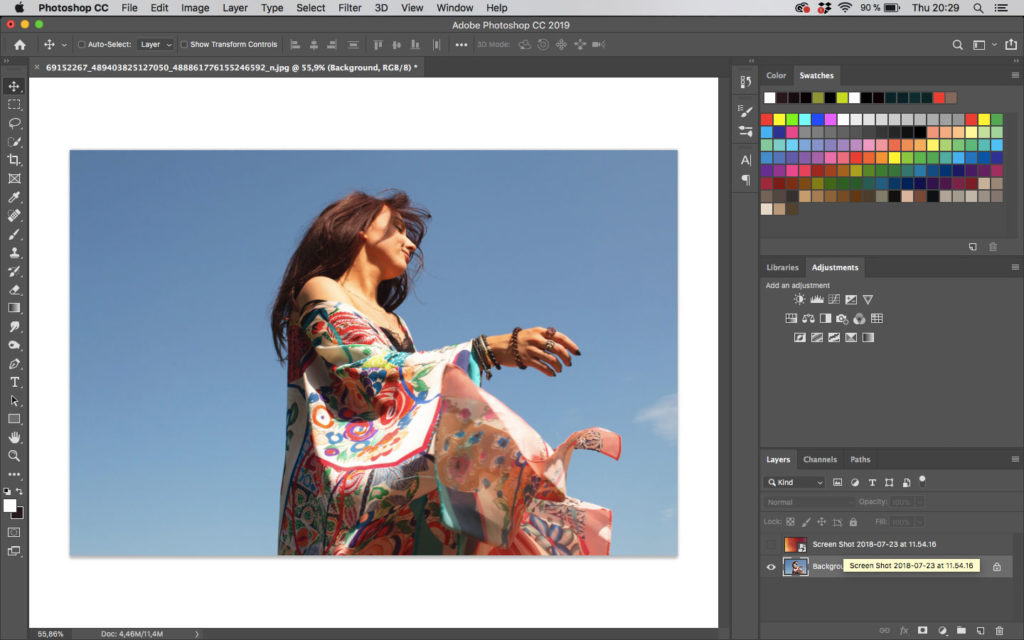
Adding grain:
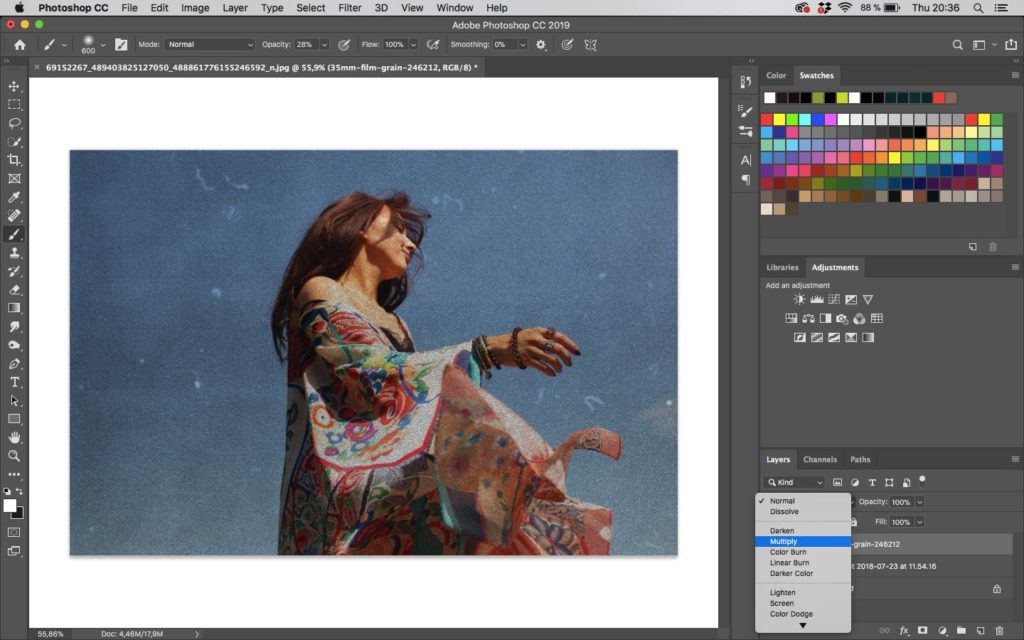
And here’s the final image
Thanks for checking out my blog this week! Hope you found it useful and learnt something new! Let me know if you have any questions on how to get a vintage look on photos in the comment section below.
Sorry, the comment form is closed at this time.
